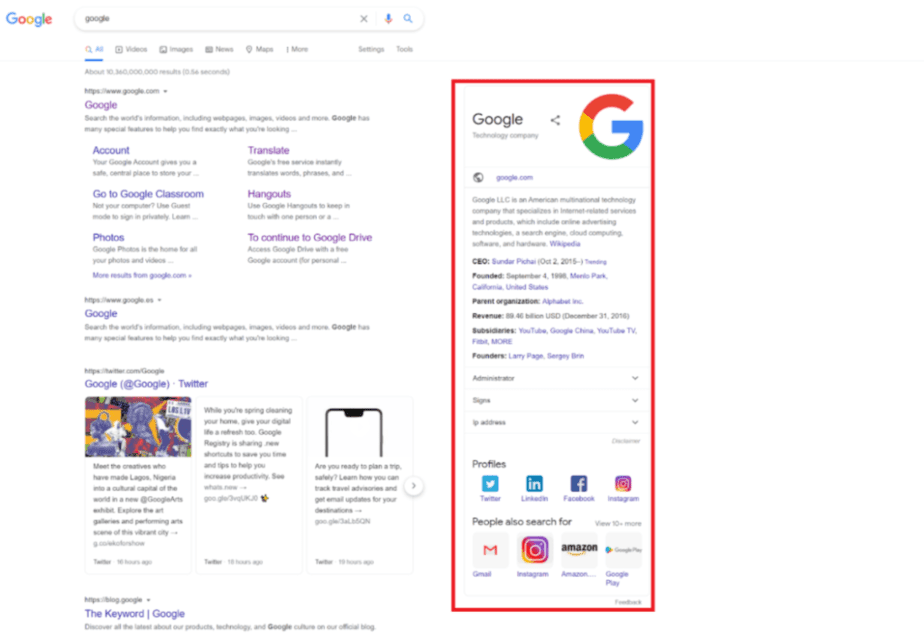
The Schema Markup represents an essential function you can implement within your site to give a significant SEO boost, directly providing additional data to search engines and optimally using other communication and marketing channels such as social media.
Microdata can be added to your WordPress site in various ways, either through a dedicated plugin, with a theme that directly includes this function or by manually adding the code. Let’s find out together the best way to add the schema markup to your WordPress site.
What is the Schema Markup?
The Schema Markup is made up of so-called microdata, a specific type of metadata added to a website to provide search engines with more SEO information about its content and structure. All this information is added to the HTML code that makes up the pages of your site.
In this way, a user who searches on the internet can obtain a precise result corresponding to his needs. This will increase your search ranking since the site’s pages will be more visible and easier to reach.
Why add the Schema Markup to your Website
The main advantage that the implementation of microdata brings concerns SEO, as search engines, by reading this data, can provide more effective answers to user searches and bring your pages higher in the SERPs.
With this type of data, you can communicate to Google your type of website. Does it represent a company or a person and highlights your social media accounts?
The Schema Markup will also allow you to set up the Knowledge Panel in Google, i.e. the information box shown on the right in the SERP, and the rich snippets and sitelinks, shown as a list of subpages below the main search result.

Add the Schema Markup to your WordPress site
To add microdata to your WordPress site, you have 3 main ways, which are also the simplest:
Add Schema Markup via a Theme
To make sure you add the Schema Markup to your WordPress site, you can use a theme that includes them by default. To find a suitable theme with this feature, look for the keyword “scheme” in the WordPress theme directory page.
The most used themes that already include microdata are Astra, Fluida, The Schema and Schema Lite.
Using a Plugin
If your theme does not include the Schema Markup by default, you can always overcome this problem through a dedicated plugin that implements this function.
One of the most used plugins is Schema:
- After activating and installing it, go to the Settings item to start configuring its settings.
- Enter the general information relating to your site,
- Complete the configuration by clicking on the Quick Configuration Wizard.
Adding Schema Markup via the Yoast SEO Plugin
Another way to configure the Schema Markup of your site is through the Yoast SEO plugin. Since it is one of the most used plugins for SEO, it is undoubtedly an ideal method. This is because it helps you avoid installing an additional plugin.
When you install Yoast SEO, you provide it with the basic settings for configuring microdata. These include the type of person or company it represents and links to social channels. On the other hand, if you have already installed the plugin, you can always check that you have correctly set the Schema Markup by selecting the Search Appearance item.
Scrolling down in this section, you will see the Knowledge Graph and Schema.org box where you can choose whether the site represents an organization or a person, the site’s user from which to retrieve personal information and any logo or profile picture.
Check the Microdata on your Site
Thanks to the Advanced Results Test tool made available by Google, you can determine if the search engines can correctly read the microdata set up on your site. You should first enter the URL of a specific page. The tool will show you what information from the Schema Markup search engines detect on the site.

